3. Create Virtual Environment
The following steps create a virtual Python environment to ensure the model is run with the correct Python libraries. These steps are identical regardless of operating system.
-
Create a virtual Python environment.
python3 -m venv . -
Activate the virtual environment.
source bin/activate- If this worked successfully, you should see the directory name in parentheses before your terminal input.

-
Add Python libraries to the new virtual environment using the requirements file that was downloaded when the GitHub repo was cloned.
python3 -m pip install -r requirements.txt- You may be prompted to say
YorN. RespondYto all prompts. - Note: your requirements may differ on a supercomputing cluster such as UC Berkeley’s Savio cluster. A copy of the
requirements.txtfile that works on Savio is linked below.
- You may be prompted to say
-
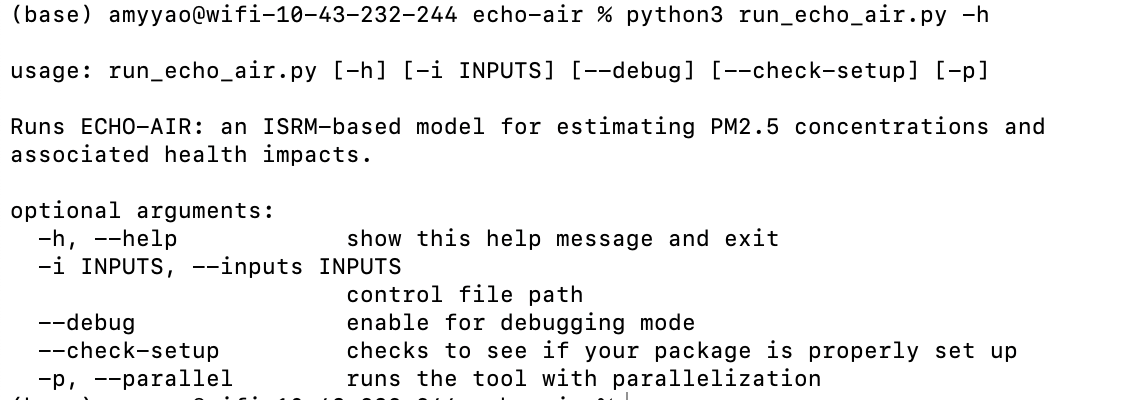
To confirm that the libraries are installed properly, run the following code. If you get a help message, the installation has worked properly.
python3 run_echo_air.py -h- An example of the help message is shown here:
Requirements for Savio
If you are using UC Berkeley’s Savio supercomputer, copy the following into your requirements.txt before step 3 above:
```text attrs==22.2.0 certifi==2021.10.8 click==8.0.3 click-plugins==1.1.1 cligj==0.7.2 cycler==0.11.0 DateTime==4.5 Fiona==1.8.21 fonttools==4.27.1 geopandas==0.9.0 importlib-metadata==4.8.3 kiwisolver==1.3.1 matplotlib==3.3.4 munch==2.5.0 numpy==1.19.5 packaging==21.3 pandas==1.1.5 pathlib==1.0.1 Pillow==8.4.0 pyarrow==6.0.1 pyparsing==3.0.8 pyproj==3.0.1 python-dateutil==2.8.2 pytz==2022.1 Rtree==0.9.7 scipy==1.5.4 seaborn==0.11.2 Shapely==1.8.1.post1 six==1.16.0